Add SDK to App
Overview
Before You Begin
Prior to implmenting the Xamarin SDK into your Xamarin application, you first need to decide what kind of Xamarin implementation path you need:
- Xamarin.iOS and Xamarin.Android (Native)
- Xamarin Forms
Xamarin.iOS and Xamarin.Android Steps
-
Inside of VisualStudio, right click the
Referencesfolder inside of your project -
Select
Add Reference -
Select
.Net Assemblytab -
Select
Browsebutton -
Locate the
cmpsdk.dllwithin theOneTrust_CMP_Xamarin_DLLfolder

- Select
cmpsdk.dllfile

- Select
OKbutton. You should seecmpsdkin your References section.

iOS Example
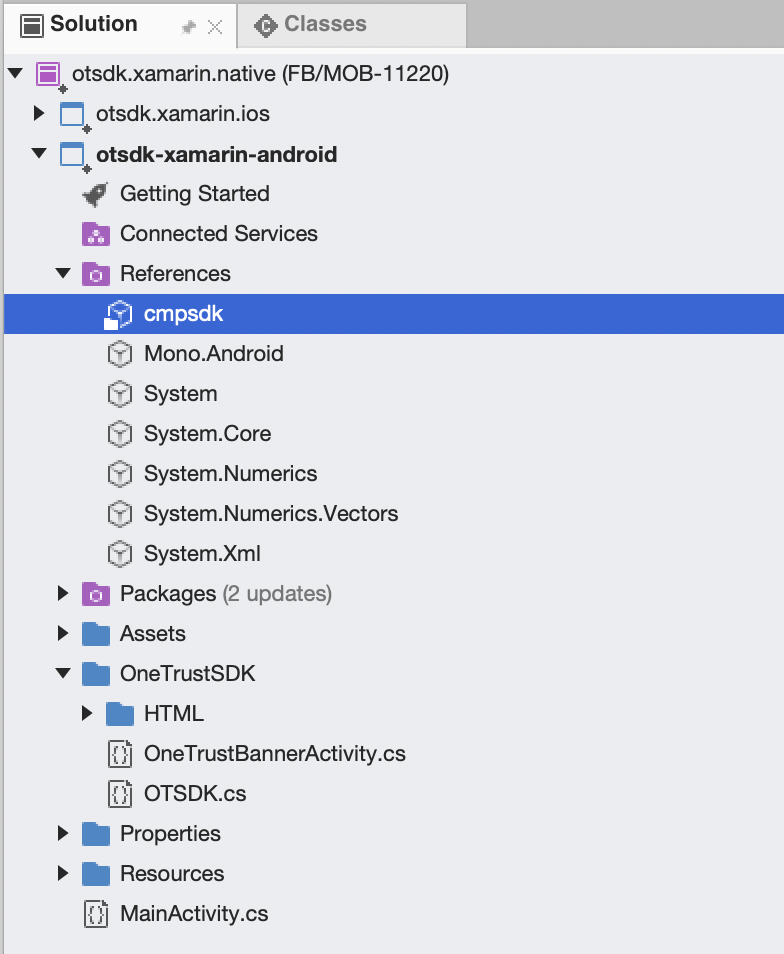
Android Example
- For iOS, copy the
OneTrustSDKfolder from theXamarin-Nativedirectory and paste into theotsdk.xamarin.iosProject. For Android, do the same withotsdk.xamarin.android.

- Navigate to
OneTrustSDK > HTMLand take note of each of the HTML, CSS, and JS files in that directory. Select one of the files, then navigate to the Build action dropdown under the Properties tab and selectBundleResource(iOS) orAndroidAsset(Android) as the option. You will need to do this for each file in thisHTMLdirectory.

iOS example using BundleResource
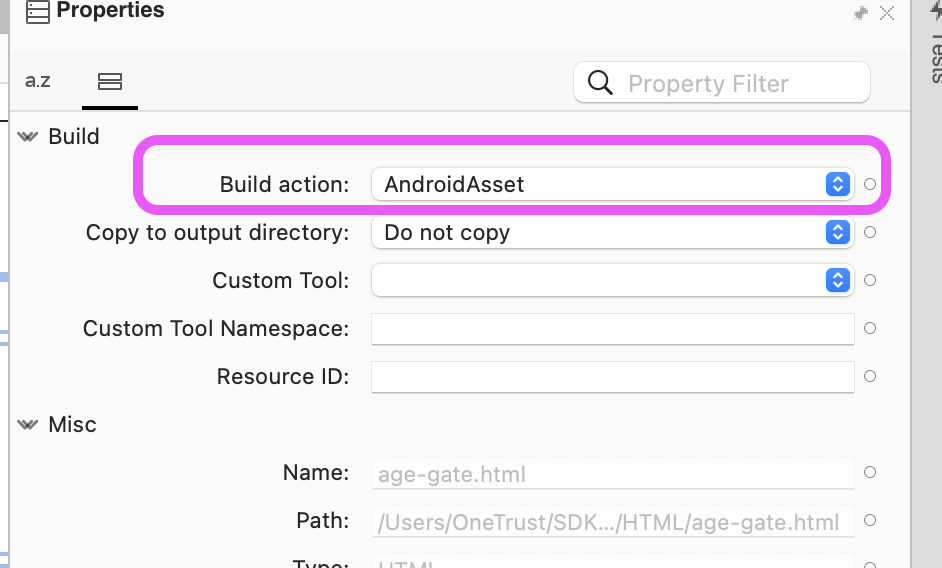
Android example using AndroidAsset
Recommendation: Use the
Xamarin-Nativesample project as a reference for how to communicate with thecmpsdk.dll.For iOS: Reference the
AppDelegate.csfile.For Android: Reference the
MainActivity.csfile.
Xamarin Forms Steps
First, you need to add the OneTrust SDK's dll file to your existing application.
- Inside of VisualStudio, right click the
Referencesfolder inside of your project - Select
Add Reference - Select
.Net Assemblytab - Select
Browsebutton - Locate the
cmpsdk.dllwithin theOneTrust_CMP_Xamarin_DLLfolder - Select
cmpsdk.dllfile - Select
OKbutton
Since you plan to use the OneTrust UI, you will need to also copy the UI files into your Xamarin shared project.
- Navigate to the
Xamarin-Forms-With-UI / OTSDK-UI / OneTrustSDKdirectory in your download. - Copy and Paste that folder into your existing Xamarin shared Project.
There are additional dependencies to inject into your existing application which writes the UserAgent string when a user saves consent. For Xamarin Forms, it's necessary to include these files in your project to avoide build errors.
- For iOS, locate the
Xamarin-Forms-With-UI / OTSDK-UI.iOS / UserAgentString.csfile and copy it into your project. For Android, the locate bothXamarin-Forms-With-UI / OTSDK-UI.Android / UserAgentString.csandXamarin-Forms-With-UI / OTSDK-UI.Android / OneTrustContentViewRenderer.csfiles and copy both into your project.
Note: For OneTrust sample app, the shared project name is
OTSDK-UI. Your shared project name will be different.Recommendation: Use the
Xamarin-Forms-With-UIsample project as a reference for how to communicate with thecmpsdk.dll.Additionally, use the
MainPage.xamlfile to reference how to launch the OneTrust UI.
Add SDK to App for Unity
- Download the Unity package from your OneTrust tenant.
- In the Unity engine, import a new package and select the OneTrust package from the file explorer.
- Import all files.
- From here, a demo scene is available with many common use cases.
Updated about 1 year ago