Unified Profile
Learn how to save a user's CMP preferences onto their Universal Consent profile.
Further MyOneTrust Documentation
Connecting CMP and UCPM
With OneTrust CMP and Universal Consent & Preference Management, you now have the ability to store consent given by a user on one Website or Mobile App as a data subject record. This allows you to bridge the gap between a person's CMP preferences (Targeting cookies, Social Media SDKs...) that they might have given as an unauthenticated user, and their other preferences (Invitations to webinars, Events newsletters...) as an authenticated user. As a business, this also allows you to use the full UCPM feature set when someone changes their CMP preferences on a website or application. You can now trigger integration workflows to send these preferences to downstream system, keep a golden record of a profile and let someone manage their preferences in a single preference center.
Setup guidance - Admin
Decide on the business' identifier
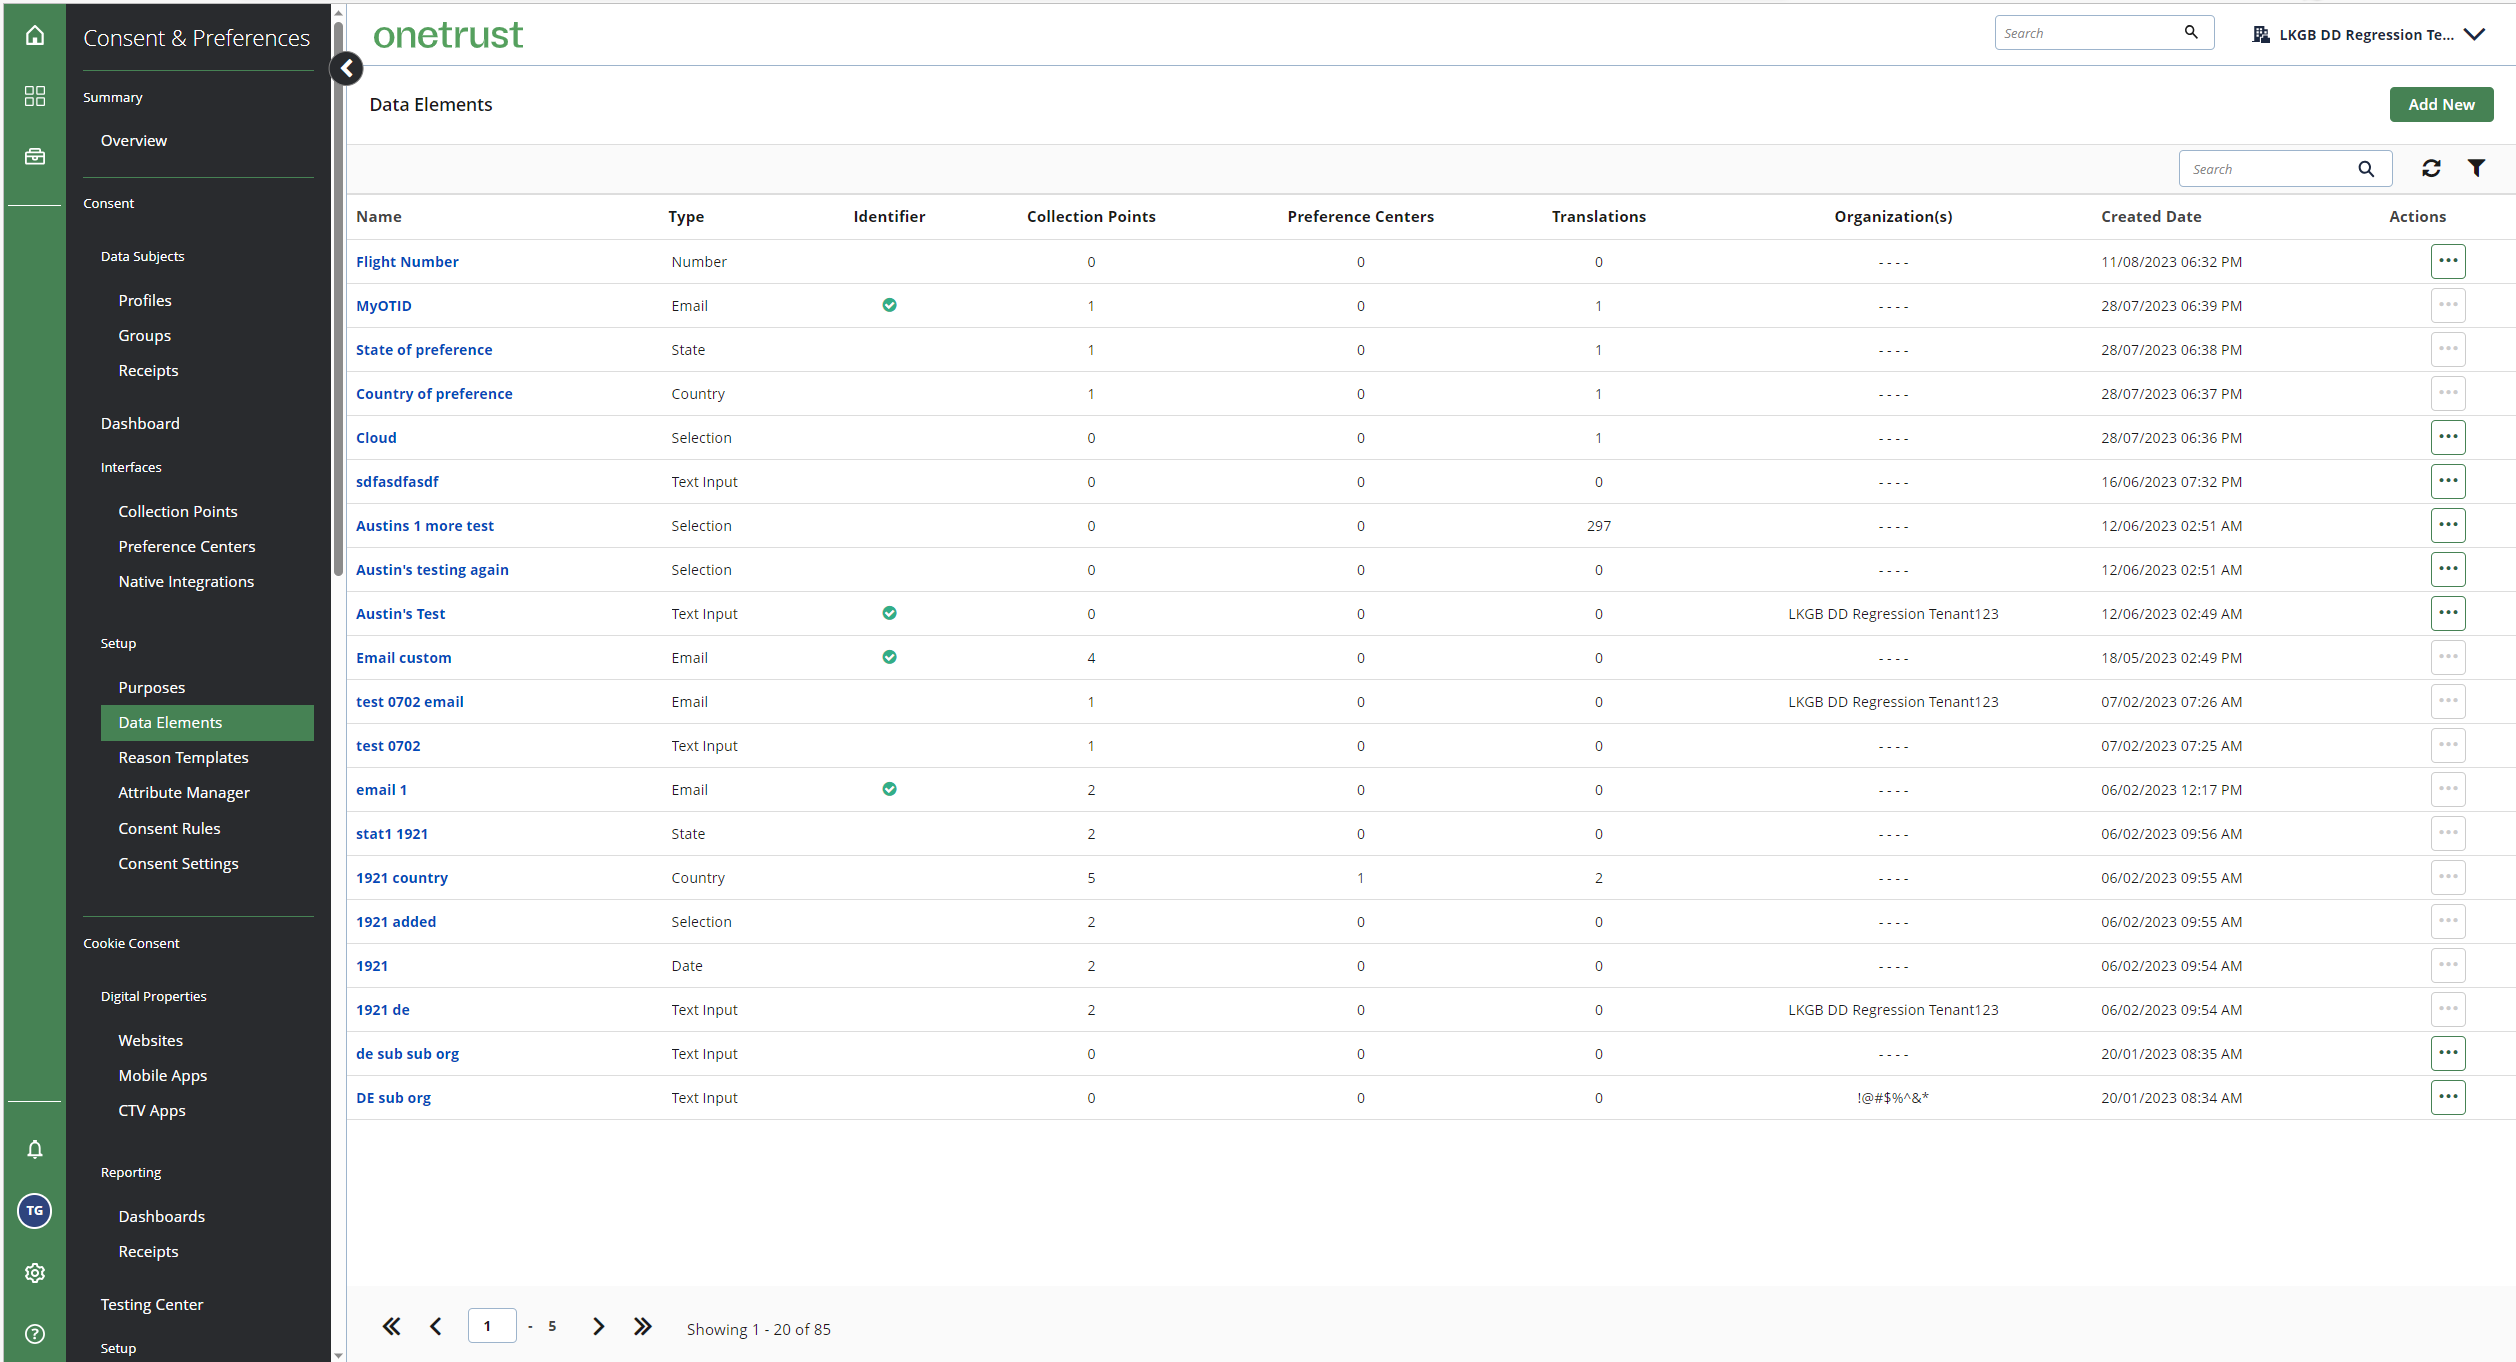
In order to maintain a Universal Consent & Preference Management profile, ensure that your user identifier of choice exists under Data Elements:
You can create your own identifier if it does not exist yet. Make sure to select the option "Can be used as an identifier" when creating it.
Allow known users to maintain UC&PM records

In order for profiles to be created and updated when users are known, you will need to turn on the functionality for each applicable geolocation rule. Toggle on Create data subject profiles for known users .
Capture Records of Consent needs to be turned on for any consent receipt to be sent, and for the option to be available.
Select the identifier type that will be used by default for your known audience, such as Email ,Phone number or any identifier created previously. You will be able to override this identifier type in-app/script if need be.
Optional: Select Trigger Integration Events to trigger Data Subject Profile Updated events and run Integration workflows to send cookie preferences to third-party systems.
Ensure your Universal Consent & Preference Management licensing allows for the number of new data subjects that are expected to be created
Once you have enabled the setting in your chosen geolocation rules, publish your Websites/App.
Setup guidance - In app
If you have previously set up cross-domain/cross-device consent, there are no further changes needed in-app.
On your websites and mobile apps, the same setup as Cross-domain-cross-device consent can be followed. If you Generating a JWT token is only required if you would like your website or app to synchronize and load the latest preferences.
Authenticate the user
The first step will always be to authenticate/identify your user so that they become known. Use your preferred method to gather an identifier, such as an email, as OneTrust CMP does not require a specific authentication flow.
From there, communicate the identifier with OneTrust CMP using the methods below:
Generate a JWT token
The token is only necessary if you would like to synchronize user preferences across websites and apps. If using a token, generate it using a JWT library as explained in Cross-domain cross-device.
On web
The recommended flow for web is to pass the identifier and other parameters on page load, before the OneTrust SDK script.
Optionally, if synchronizing known user profiles, insert the JWT token.
<script>
	var OneTrust = {
		dataSubjectParams: {
			id: "[Insert User ID Here]",
      identifierType: "[Optional; only if overriding]",
			isAnonymous: false,
			token : '[Insert JWT Token Here]'
		}
	};
</script>
On Mobile
On initialization
Once a user is known, it is recommended to re-initialize the SDK, passing appropriate parameters in the dataSubjectParams object.
let profileSyncParam = OTProfileSyncParams()
profileSyncParam.setSyncProfile("true")
profileSyncParam.setSyncProfileAuth("JWT token")
profileSyncParam.setIdentifier("userId")
profileSyncParam.setIdentifierType("optional, if overriding")
OTProfileSyncParams.OTProfileSyncParamsBuilder.newInstance()
.setSyncProfile("true")
.setSyncProfileAuth("JWT token")
.setIdentifier("userId");
.setIdentifierType("optional, if overriding");
OTProfileSyncParams otProfileSyncParams = otProfileSyncParamsBuilder.build();Updated 6 days ago